This month, the Tween Grab and Go craft is making bracelets with the art of Kumihimo. Kumihimo is a traditional Japanese weaving technique that creates braids and cords. While there are a multitude of ways to make a bracelet, this will show you one basic way!
In your kits, you have 3 different colors of yarn and a piece of cardboard. You’ll also need:
- A pen or pencil
- Scissors
- A ruler
Making your kumihimo disc:
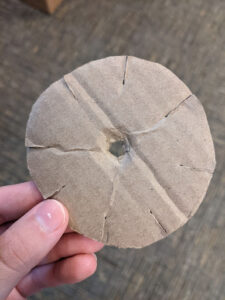
- Trace a circle onto the piece of cardboard. You’ll want it to be at least 3 inches in diameter but it can be bigger!
- Cut out the circle
- Cut 8 small slits evenly around the edge. Each slit should be about ½ an inch long
- Use a pen or pencil to poke a hole in the center of the circle
![cardboard disc]()
Next, you’ll want to start your bracelet!
- Cut 7 strands of 3ft long yarn from the balls you were given. You can do any combination that you want! For example, I used 2 strands of green, 2 strands of blue, and 3 strands of yellow.
- Line up the ends and tie a simple knot.
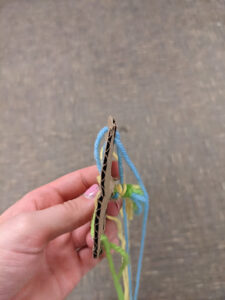
- Push the knotted end of the yarn through the hole in the middle of the disc.
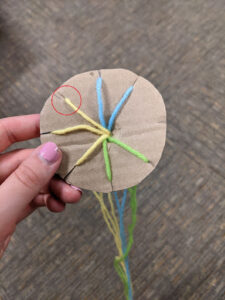
- Put one piece of yarn in each slot, except for one.
![weaving 1]()
![weaving 2]()
- Start braiding! Hold the disc so that the empty slot is facing to the right, as shown in the picture. Then you’ll count 3 strands of yarn, upwards from the empty slot. As shown in the photo, it would be the yellow yarn with the red circle. Remove the third yarn from its slot and slide it into the empty slot.
- Rotate the whole disc so that the empty slot is once again on the right side.
- Repeat! Keep moving that third yarn over and rotating your disc, and then watch your bracelet grow!
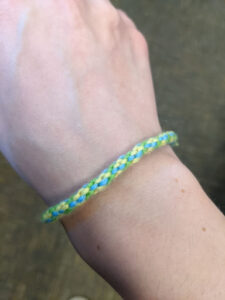
- Once your bracelet is long enough, remove each strand of yarn from its slot and remove it from the disc. Knot the ends together and cut off any extra yarn that you don’t need. You did it!
![woven bracelet]()
This is just one way to use a kumihimo disc to create a braid. Some discs have 32 slots!
Want to learn more? Check out The Beginner’s Guide to Kumihimo by Dorothy Wood on Hoopla


