Below are the instructions for February’s Grab & Go kits! Grab one at our outdoor Creation Station or stop by the Youth Department at the Library. While supplies last.
PLEASE PAY ATTENTION TO THE NEW GRADE RECOMMENDATIONS!
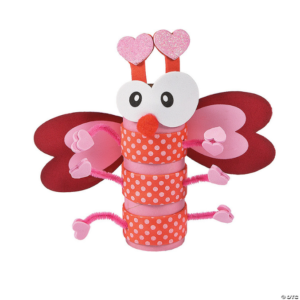
The Pre-K and K craft this month is a Love Bug!
Love and kindness isn’t limited to Valentine’s Day, as our Love Bug craft and these wonderful books demonstrate. Make the Love Bug together with your little one by following the simple instructions in each kit. Your child should feel free to add marker or crayon details to the Love Bug…or switch up which foam heart stickers go where… to make their own unique Love Bug!
Once the craft is complete, talk with your child about ways to show love every day, whether that’s by helping a friend, giving a hug, or sharing a toy. The books below share the message that love and kindness are important each and every day.
Some book suggestions:
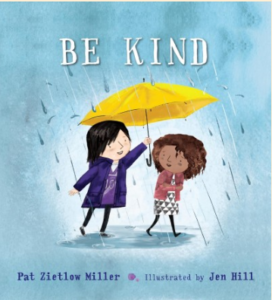
Be Kind by Pat Zietlow Miller ; illustrated by Jen Hill

A Book of Love by by Emma Randall
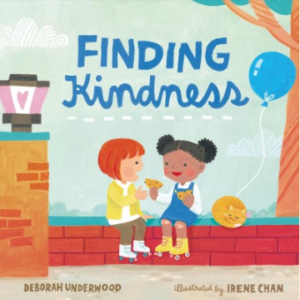
Finding Kindness by Deborah Underwood ; illustrated by Irene Chan
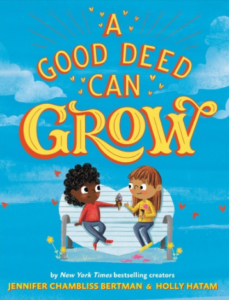
A Good Deed Can Grow by Jennifer Chambliss Bertman ; illustrated by Holly Hatam

If You Plant a Seed by by Kadir Nelson

The craft for grades 1-4 is a Wind Up Dinosaur! Instructions for this craft can be found in each kit.
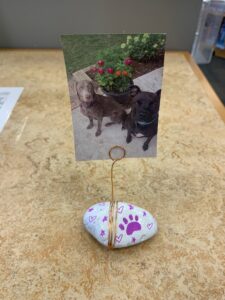
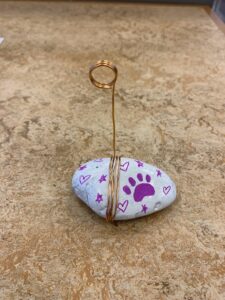
The craft for grades 5+ is a rock photo holder! Make a beautiful mount to display a photo of a loved one, your family, a pet, or anything else you love. Instructions are below.
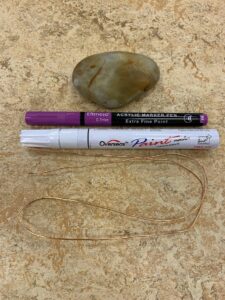
Supplies in each kit:
- A rock
- A white paint marker
- A color paint marker (each kit will have a different color)
- 2 feet of copper wire
Supplies you will need at home:
- A scrap piece of paper to paint your rock on
- A photo to display on your holder (recommend a wallet size (2.5″ x 3.5″), but any size should work)
- Maybe scissors
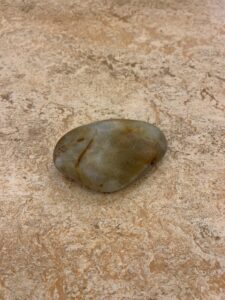
- Clean off your rock with warm water and soap, and let it dry off completely, probably for a day. Then decide which way you want the rock to lay as your base.
![Rock photo holder cleaned rock photo]()
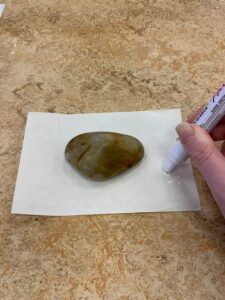
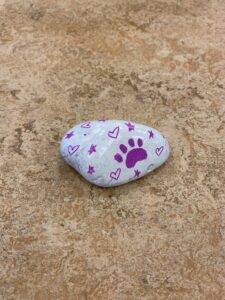
- When your rock is dry, place it on your scrap piece of paper. To get your paint pen to work, shake it and press the tip in on the scrap of paper. You can paint the rock white and use whatever color you got to draw details on it, or use the color as the base and use the white to draw details (or paint it however you want!). However you do it, make sure it dries completely before using your second paint pen to draw details
![Rock photo holder paint pen photo]()
![Rock photo holder finished painted rock photo]()
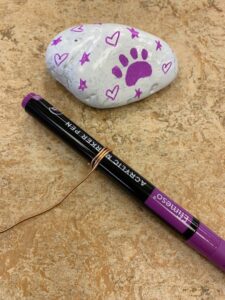
- Straighten our your copper wire as best as you can. Tightly wrap one end of the copper wire around your color paint pen, about 3 times.
![Rock photo holder wrapping wire photo]()
- Leaving a few inches so that it will stand up from the rock base, wrap the rest of the copper wire around your rock. Depending on the size of the rock, you may have a lot of wire left over. If so, carefully use scissors to cut some of the copper wire off, so that the end is on the bottom of your rock.
![Rock photo holder finished product photo]()
- Slide a photo of whatever you love between the coil at the top and place somewhere you will be able to see it and enjoy!
![Rock Photo Holder craft image]()
For more suggestions on rock painting techniques and tutorials (that may require more paints than provided), check out on of these books, which are instantly available on Hoopla!
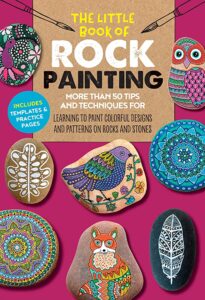
The Little Book of Rock Painting


