Below are the instructions for May 2023 Grab & Go kits! Grab one at our outdoor Creation Station or stop by the Youth Department at the Library. While supplies last.
PLEASE PAY ATTENTION TO THE GRADE RECOMMENDATIONS!
Sun with Rainbow Streamers
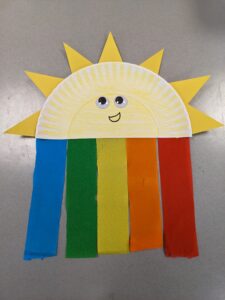
Happy May! This month, PreK-K kids can make a sun with a rainbow hanging underneath.
Each kit includes:
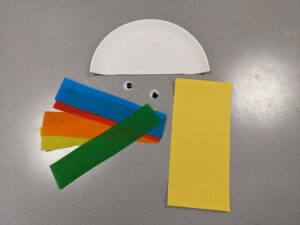
- Half a paper plate
- A sheet of yellow paper
- 5 streamers in red, orange, yellow, green, and blue
- A pair of googly eyes
Supplies you’ll need:
- Scissors
- Glue
- Crayons to color with
- Help your child cut small triangles from the yellow piece of paper. I made 7 but it can be any number or size!
2. Color your sun. I decided to make it yellow.
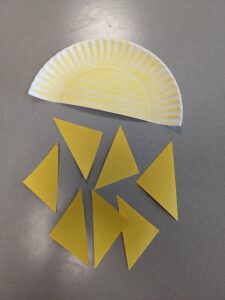
3. Turn your paper plate over. Glue the triangles to the back around the rounded edge. Then glue the 5 streamers to the bottom, straight edge of the plate.
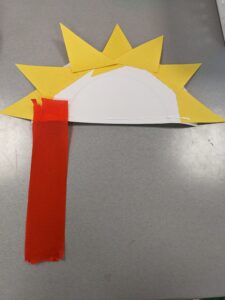
4. Once your plate has dried, turn the plate over. Glue on the googly eyes, draw a smile, and enjoy your beautiful sun!
Instructions for the Grades 1-4 craft can be found inside each kit.
Kit Contents:
- 3 sheets of vellum paper (2 plain, 1 color)
- 2 sheets of lamination paper
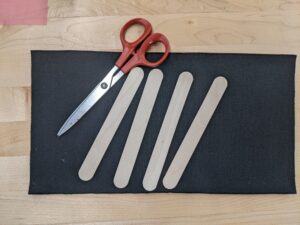
- 17 jumbo popsicle sticks
- 6 transparent plant stickers
- 1 round tray
- 1 LED tea light
Supplies needed:
- A marker
- Scissors
- Hot glue (preferred) or liquid glue
Pressed flowers (optional) (follow this guide to press flowers at home using books)
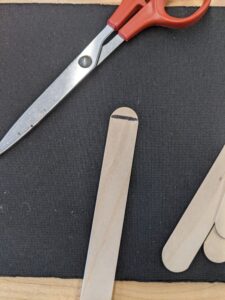
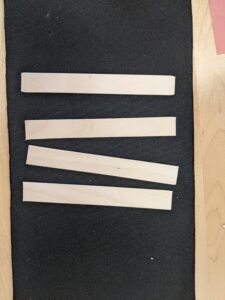
- Take 16 of the popsicle sticks and cut the rounded portion off with scissors (be careful as the pieces may fly)
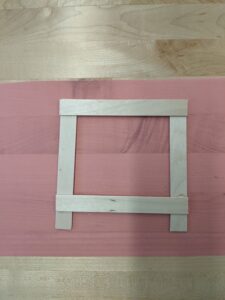
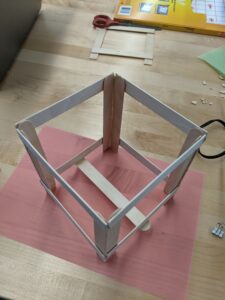
2. Place sticks in the formation below gluing them together where they meet.
3. Repeat step 2 until you have 4 identical frames
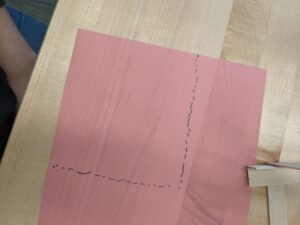
4. Choose your vellum paper color and trace the frame shape on the paper. Cut to size.
5. Cut a piece of lamination paper to match (leave backing on for now)
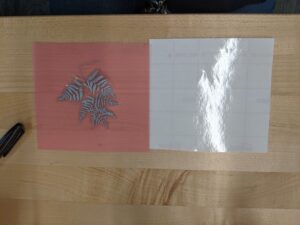
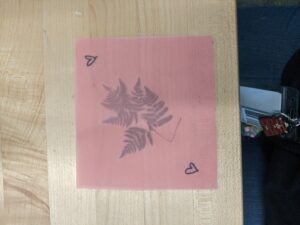
6. Take stickers or pressed flowers and arrange them on the vellum paper, having the side you want facing out against the vellum (if using stickers the adhesive of the sticker should touch the adhesive side of the lamination paper). Draw on the back side of the vellum paper if you would like.
7. Peel backing paper off of the lamination paper and sandwich stickers and plants between the vellum paper and lamination paper.
8. Glue this into the inside of one frame (I assembled the box first but it is easier to do this step first)
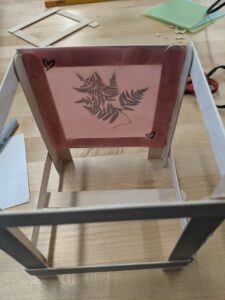
9. Repeat steps 4-8 for the remaining 3 sides. Then assemble the frames into a box like the image below (if using liquid glue instead of hot glue you may have to prop one of the sides up as the glue dries)
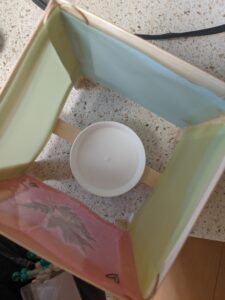
10. Take the final popsicle stick (still rounded) and glue the round tray to the middle. Then glue this to the underside of the box shape as seen above and below.
11. Set LED candle on the round tray (you may have a tab to pull before using the candle)
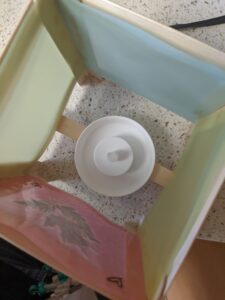
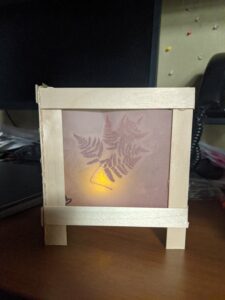
12. Turn on the candle and set in a dark room. Now you have a lantern!
Important note: you can use any LED light you have in the center, just avoid using real candles or any light source that gets hot, as this will melt or ignite your lantern.


